Table Of Contents
Cleaning your walls before painting isn't just about aesthetics; it's the foundation for a flawless finish. Think of it as prepping the soil for a prize-winning bloom – the cleaner the base, the more vibrant and durable your colourful masterpiece will be. So, ditch the apprehension and grab your cleaning caddy – it's time to transform those lacklustre walls into the perfect canvas for your painting dreams!
How To Prepare Your Walls For Painting:
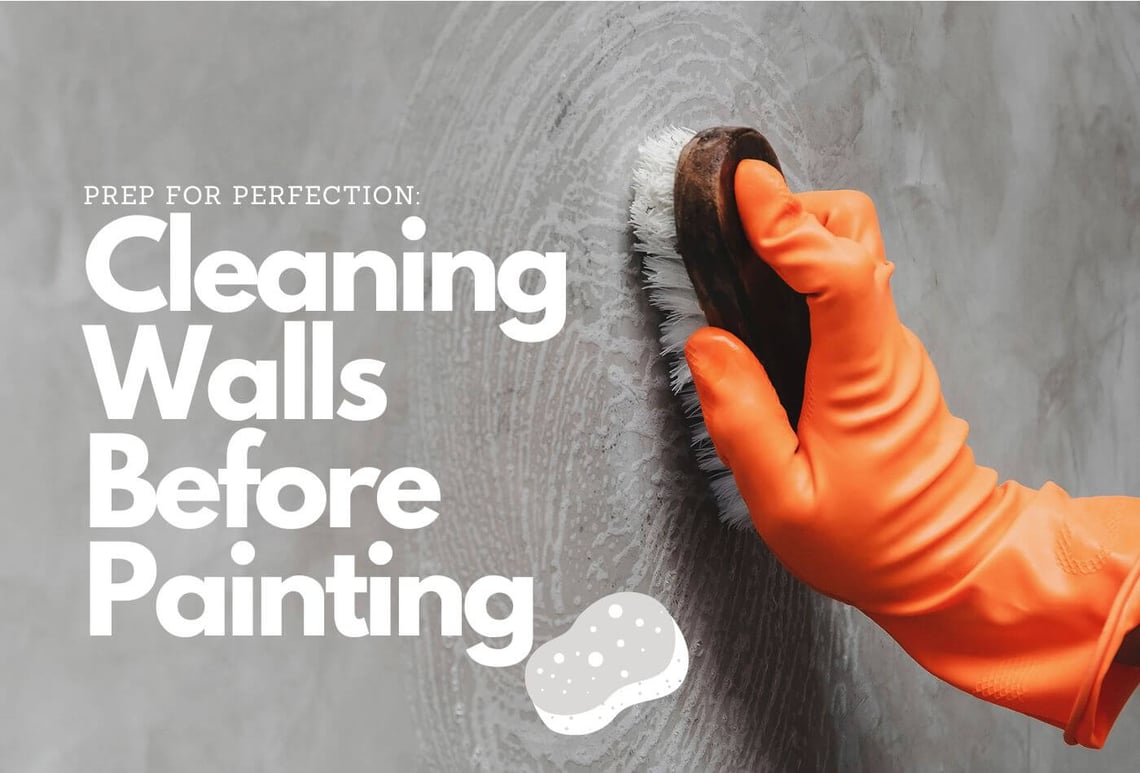
Cleaning Your Walls Before Painting
While there is no ideal technique for cleaning your walls before painting, many may be scrubbed with a sponge and warm water. For surfaces that have been exposed to oil or filth, such as kitchen walls, wash with a solution containing water and grease-cutting detergent, then rinse with clean water to remove any remaining cleaning agent.
Removing Mildew
Mildew can be cleaned with a sponge and a mix of three to four parts water and one part bleach. Apply the solution, let it sit for a few minutes, then scrub the affected area with a soft brush and rinse it with clean water.
Sand The Surfaces Before Painting
While sanding is not essential for every paint project, uneven patches on walls, whether previously painted or not, must be sanded before painting to ensure that the paint applies smoothly. To smooth any uneven surfaces, use sandpaper and a sanding block, then wipe away the dust with a moist towel and allow it to dry completely.
Priming The Walls For Painting
If paint or paint colour are the building blocks of a home, primer is its foundation. Use a primer to get the most out of your paint, particularly if your walls are porous or have surface stains that need to be covered. Primers hide flaws, provide a smooth surface that your paint can adhere to, and offer a consistent finish regardless of what you're walls for painting.
Methods To Cleaning Your Walls Before Painting:

Dust And Vacuum
Start by removing loose dust and dirt with a soft brush or vacuum cleaner equipped with a brush attachment. Pay careful attention to corners, baseboards, or any other areas where dust collects.
Wash With Mild Detergent
Prepare a solution of mild detergent and water. Use a sponge or soft cloth to wash the walls, working from the bottom up gently. This method is particularly effective for removing general grime and stains.
Tackle Stubborn Stains
For tougher stains, such as grease or crayon marks, you may need to use a slightly more potent cleaning solution. A mixture of water and vinegar or a mild degreaser can be effective in breaking down stubborn stains. Always test the solution in an inconspicuous area before applying it to the entire wall.
Rinse And Allow To Dry
After cleaning, rinse the walls with clean water to remove any residue from the cleaning agents. Allow the walls to completely dry before starting the painting process. Adequate drying time ensures that the paint adheres properly and prevents issues such as blistering or peeling.
Which Paint Colour Best Suits Your Granite Flooring:

Light And Airy
If your Granite is light-coloured, you can go for light and airy paint colours like whites, creams, light greys, or even pale blues or greens. These colours will make the space feel larger and brighter.
Warm And Cosy
If your Granite is dark or has warm tones, consider warm paint colours like beige, yellows, oranges, or even deep reds. These vibrant colours will create a warm and welcoming atmosphere.
Sleek And Modern
For a sleek and modern look, try grey, black, or white paint colours. These colours will create a dramatic contrast with your Granite flooring and make the space feel sophisticated.
Complementary Colours
You can also use the colour wheel to find complementary colours that will look great with your Granite. For example, if your Granite has green veins, you could try a red or pink paint colour.
ROSA TARDE GRANITE TILES
£94.56 Rosa Tarde Granite Tiles makes your kitchen tiles look elegant and stunning with its grainy texture all over the stone. While the easy-to-clean nature of floor tiles will mean that your flooring will require less effort when it comes to… read more |
What If You Don't Wash Your Walls Before Painting:

If you don't prefer cleaning your walls before painting on that fresh coat of paint, you might be in for a few surprises. First off, any dirt, grease, or grime on the walls can affect the paint's adhesion, and you definitely don't want your masterpiece peeling off after a few months.
Skipping the wash can also lead to uneven paint application. Once the paint dries, these minor bumps and defects that you didn't care to clean will become evident. And don't even get me started on the mould and mildew – painting over those won't make them magically disappear.
I've discovered that taking a moment to wash the walls makes a huge impact. A thorough washing primes the surface, improves paint adhesion, and produces a smoother finish. Plus, it's oddly therapeutic!
Frequently Asked Questions:
-
Why Is Cleaning Your Walls Before Painting Important?
Cleaning your walls before painting is vital for a successful paint job. Dust, dirt, and contaminants can hinder paint adhesion, leading to a patchy or uneven finish. By thoroughly cleaning your walls before painting, you create a smooth and pristine surface, ensuring the paint adheres securely. This not only enhances the aesthetic appeal but also promotes the longevity of the paint job. Proper cleaning your walls before painting removes stains, grease, and other substances that can negatively impact the appearance of walls for painting, providing a clean canvas for a professional and lasting finish.
-
What Is The Best Way For Cleaning Your Walls Before Painting?
The best way for cleaning your walls before painting involves a systematic approach. Start by dusting or vacuuming to remove loose particles. Prepare a solution of mild detergent and water, then wash the walls gently using a sponge or soft cloth. For stubborn stains, use a mixture of water and vinegar or a mild degreaser. Rinse the walls with clean water to remove any residue, and allow them to dry completely before applying paint. This method ensures the removal of dirt, stains, and contaminants, creating an optimal surface for paint adhesion.
P.s. The readers are informed that none of the content available on any of the pages of Work-tops.com should be taken as legal advice and that Work-tops will not be held accountable for your use of the information contained in or linked from these web pages.


