Table Of Contents
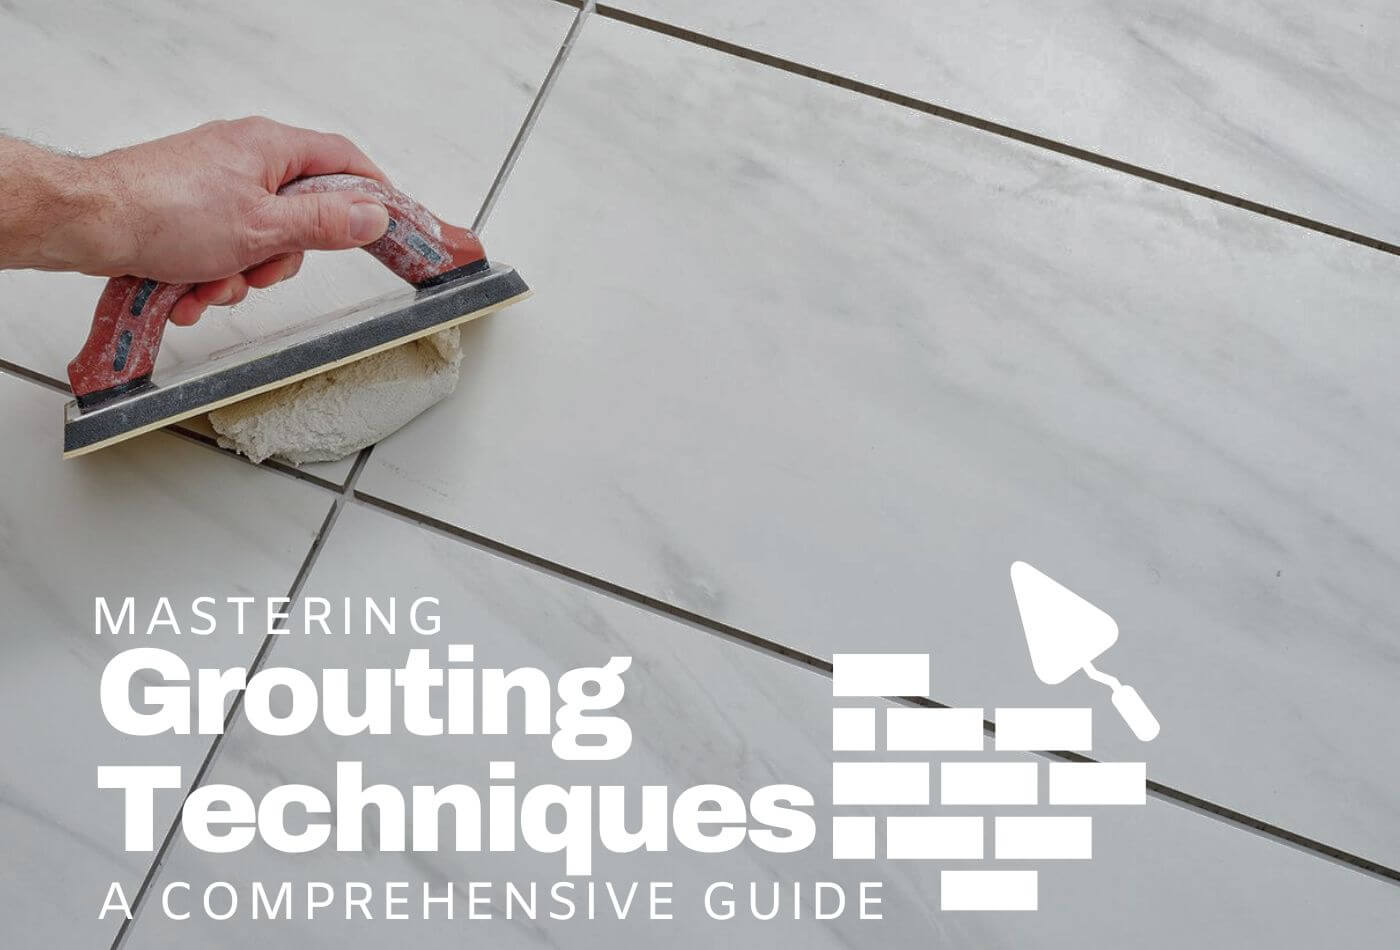
Grouting is an important stage in tiling that necessitates careful consideration of both materials and procedures. This article offers helpful insights and ideas for working with various grout products or natural surface materials, as well as important strategies for mixing, applying, or cleaning grout.
Pro Grouting Tiles Tips And Tricks For Best Installation:
Prepare The Surface
Before you begin tiling, ensure that the surface is clean, dry, & level. Any particles, dust, or moisture might compromise the Grouting Tiles' adherence and lifespan. Using a scraper, sander, or chemical cleaner, remove any old tiles, paint, or adhesive if the surface is uneven, and apply a self-levelling solution to create a smooth, flat base. If the surface is porous, use a primer or sealer to help the adhesive and grout adhere better.
Measure And Plan
Measure the space you would like to tile and arrange your scheme. Mark the centre of the room or wall with a chalk line, then build a grid to assist tile placement. Use spacers to maintain equal spacing among tiles and to accommodate grouting tile lines. Dry-fit the tiles to ensure they fit properly and make any required cuts.
Use The Correct Adhesive
Use the appropriate adhesive for your tile material & surface. Use a cement-based glue for porcelain or natural stone tiles or a ready-mixed adhesive for ceramic tiles. Use a notched trowel to distribute the adhesive and remove all air pockets uniformly. To avoid the adhesive drying out, apply only enough adhesive to cover the tiles in 10-15 minutes.
Cut The Tiles Carefully
Before cutting the tiles with a tile cutter or tile saw, make sure they are properly measured and marked. Use a tile nipper for small or uneven cuts. Make certain the edges are nice and straight. When cutting tiles, wear safety glasses, gloves, or a dust mask to keep yourself safe from debris and dust.
Apply The Grout Evenly
Once the tiles have been set in place, use a rubber float to apply the grout evenly. Make sure the grouting tiles fill both the gaps between the tiles and wipe away any excess with a moist sponge. Work in tiny sections and rinse the sponge often to avoid spreading the grout. Allow the grout to dry for the appropriate time, and wipe the tiles using a clean cloth to eliminate any grout haze.
Clean And Seal
After the grout has dried, use a moist cloth or sponge to get rid of any remaining haze from the grout or residue. Use a grout sealer to protect your grout from staining and moisture.
Types Of Grouts To Transform Into A Wonderful One:

Sanded Grouts
Sanded grouting is more durable and thicker than unsanded grout, especially in tiles with gaps larger than half an inch. Sanded grout can be used with both floor and bathroom tiles.
Unsanded Grouts
Unsanded grouts are used on tiles with a gap of less than an eighth of an inch. It is thinner than sanded grout, which makes it easier to apply, although it is less durable as time passes. Unsanded grout can be used on countertops as long as the grout lines are narrow.
Coloured Grouts
Modern grouts exist in a variety of colours, including brilliant white and charcoal black. Darker colours are easier to clean since stains are less noticeable, and they also tend to highlight lighter tile colours. Lighter grout may pair nicely with light tiles and provide a striking contrast with darker tiles.
Epoxy Grouts
Epoxy grouts are pre-sealed but require extra sealing after application. Epoxy is a quick-drying resin that creates a waterproof layer, preventing this type of grout from mildew while rendering it more stain-resistant.
ROSA TARDE GRANITE TILES
£94.56 Rosa Tarde Granite Tiles makes your kitchen tiles look elegant and stunning with its grainy texture all over the stone. While the easy-to-clean nature of floor tiles will mean that your flooring will require less effort when it comes to… read more |
RUSCHITA DELICATA MARBLE TILES
£98.87 Grigio Carnico Marble Italian quarries produced marble, a natural stone that originated there. The Grigio Carnico has a breathtaking, elevated lattice of masterful veins on a black base. To form the various hues and styles in this exquisite stone, pure… read more |
CHERRY LEVANTO MARBLE TILES
£88.37 Cherry Levanto Marble Tiles features a beautiful web-like design created by white veins in a red base. This red slab creates a unique design for your properties. It is a fantastic choice for statement splashbacks, worktops, facades, fire hearths, etc.… read more |
Grouting Needs For Natural And Engineered Stones: Detailed Breakdown

Stone Properties
Porosity
-
Porous stones: Like Marble, Travertine, and Limestone, they readily absorb water. Grouting fills gaps, preventing water infiltration and staining.
-
Non-porous stones: Like Granite, Quartzite, and Porcelain, resist water naturally, potentially making grouting unnecessary.
Surface Texture
-
Even surfaces: Polished stones like Granite may not require grouting for purely aesthetic reasons.
-
Uneven surfaces: Rough-textured stones like Slate or tumbled stones benefit from grouting to smoothen transitions and hide imperfections.
Joint Size
-
Wide joints: Larger gaps between tiles necessitate grouting for structural integrity and to prevent dirt accumulation.
-
Tight joints: Stones like Slate or Bluestone can be cut with minimal gaps, potentially eliminating the need for grouting.
Application And Environment
-
High moisture areas: Bathrooms, kitchens, and outdoor spaces benefit from grouting for water resistance and protection.
-
Low moisture areas: Living rooms and bedrooms may allow ungrouted installations for a seamless look.
How To Maintain Your Stones After Grouting:

Cleaning
For everyday cleaning, use neutral pH cleaners or stone-specific cleaners. Harsh chemicals like bleach, ammonia, and vinegar can harm the stone and grout.
Mopping
For bigger areas, use a mop using a soft microfiber cloth and a diluted stone cleaning solution. Rinse the mop often, and avoid using too much water since this can seep through the grout and leave stains.
Spills
Act quickly! To prevent spills from soaking under the stone or grout, use a clean, absorbent towel to wipe them up right away. To absorb oily spills, apply a baking soda paste with a light detergent solution before washing.
For Stubborn Stains
If a stain persists despite regular cleaning, contact a professional stone restoration service. They have the skills and tools to securely remove stains without damaging your stones.
Resealing
Stone sealers wear down over time, particularly in high-traffic areas. Reseal your stones every 1-3 years to keep them protected and looking their best.
Prevention
Place mats or rugs at entryways to catch dirt and debris before it reaches your stones. To avoid discolouration, wipe up spills as soon as possible and use coasters or trivets to keep hot items from burning.
CLASSIC TRAVERTINE CROSS-CUT TILES
£63.36 Classic Travertine Cross Cut Tiles have a brownish beige base that features a veiny design created by light cream shades and white. Brown-beige tiles are a popular choice for flooring, wall covering, window sills, stair covering, pool capping, bathroom surfaces… read more |
Frequently Asked Questions:
-
Do Stone Tiles Require Grout?
This is accomplished by putting grout into natural stone tiles. The grout's goal is to seal & fill the caps while also making the seams impervious to water, preventing liquids from seeping into the tile glue layer. The grout additionally keeps the tiles in place and forms a support network across the tiled surface.
-
How Can I Ensure That The Grout Colour Is Consistent?
Colour consistency in grout can be obtained by carefully determining the water-to-grout ratio and utilising proper mixing techniques. It is also critical to prevent mixing various water concentrations in different batches of paint.
P.s. The readers are informed that none of the content available on any of the pages of Work-tops.com should be taken as legal advice and that Work-tops will not be held accountable for your use of the information contained in or linked from these web pages.