Are you considering removing those old tile floors but unsure where to start? Don't worry!!! Because you've come to the very right place! Whether you're a DIY whiz or want to explore home improvement projects, I'm always here to help you with every step. "Tile removing" might seem like a huge task, but with the proper guidance, it's easy for you to knock it out like a seasoned pro in no time. And remember that Work-tops is always here to help you tackle all your projects, whether the problem is big or small. Let's explore together now !!!
Please contact us at 0330 113 5868 or email info@work-tops.com.
Why is “Tile Removing” a Necessity?

Have you ever considered your old "tile removing" techniques and thought, "It's the right time for a change"? Update to new Tile floors now. Whether it's a stubborn stain, an outdated vibe, or just that nagging feeling that your space could be so much better, "tile removing" can be considered the very fresh start you need. It's not just about getting rid of the old; it's all about making way for something beautiful!
Amazing Benefits | Tile Removal
Imagine that you’re stepping into a room with modern flooring that thoroughly reflects your personality. It’s like giving your home a very stylish makeover!!!
Maybe you dream of something softer underfoot, like a cosy carpet or sleek hardwood. It's like changing your floor that can make your home feel so much more inviting.
If you ever plan to sell, fresh floors can significantly increase your home’s appeal to potential buyers as well.
Essential Tools and Materials | Successful Tile Removal

Before launching the "tile removing" technique, ensure you have all the right tools. Trust me, having the right gear on hand will thoroughly make the tile removal process very smooth and even a bit fun!
Tile Chisel and Hammer:These are your trusty sidekicks for prying up those stubborn tiles. Just try to think of them as your DIY superhero tools!
Pry Bar: This tool will help you lift tiles easily. It feels like you're casting a spell to remove layers effortlessly!
Utility Knife: This knife is essential for cutting through grout and adhesive, and it will be your secret weapon.
Floor Scraper: This handy tool is considered perfect for scraping away any leftover adhesive, which helps leave your subfloor ready for its next look.
Sturdy Gloves: These are a must-have to protect your hands from sharp tile edges.
Safety Goggles: Protect your peepers as well! Keep dust and debris out of your eyes while you work.
Dust Mask: Keep the dust at bay and breathe easily; they're worth it.
Plastic Sheeting: Use this to cover adjacent surfaces; no one likes a surprise dusting!
Trash Bags: Always stay organised and toss those old tiles away like a pro.
Shop Vacuum: Keep your workspace very clean and tidy. It’s incredibly satisfying to vacuum up all that dust!
The Ultimate Guide: Safe and Effective Tile Removal

Before you start up with your "tile removing" process, let's set the stage for success. Preparation is essential!!!
Clearing the Area: Make Room for Magic
- Declutter: It's the right time to move out any furniture or decor in the room. You want a clean slate to work with!
Protect Surfaces: Lay down drop cloths or plastic sheeting. Your walls and any remaining flooring will be protected.
Assessing the Tiles: Know Your Flooring
Identify Your Tile Type: Are they Ceramic tiles, Porcelain tiles, or Vinyl tiles? This knowledge will thoroughly help you to determine the best approach.
Look for Hazards: If your home is very old, especially pre-1970s, just try to check for asbestos. It's better to be safe; don't hesitate to call in the pros if you're unsure!
Step-by-Step Guide: How to Remove Tile Flooring Like a Pro
Follow these steps, and you'll be amazed at how easy tile removal can be!!!
Step 1: Gather Your Gear
Before you start, you must ensure you wear your safety gear. Let's protect those precious hands and eyes!
Step 2: Score the Grout Lines
Grab that utility knife and carefully score along the grout lines between tiles. This step is crucial; it frees the tiles for removal!
Step 3: Remove the First Tile
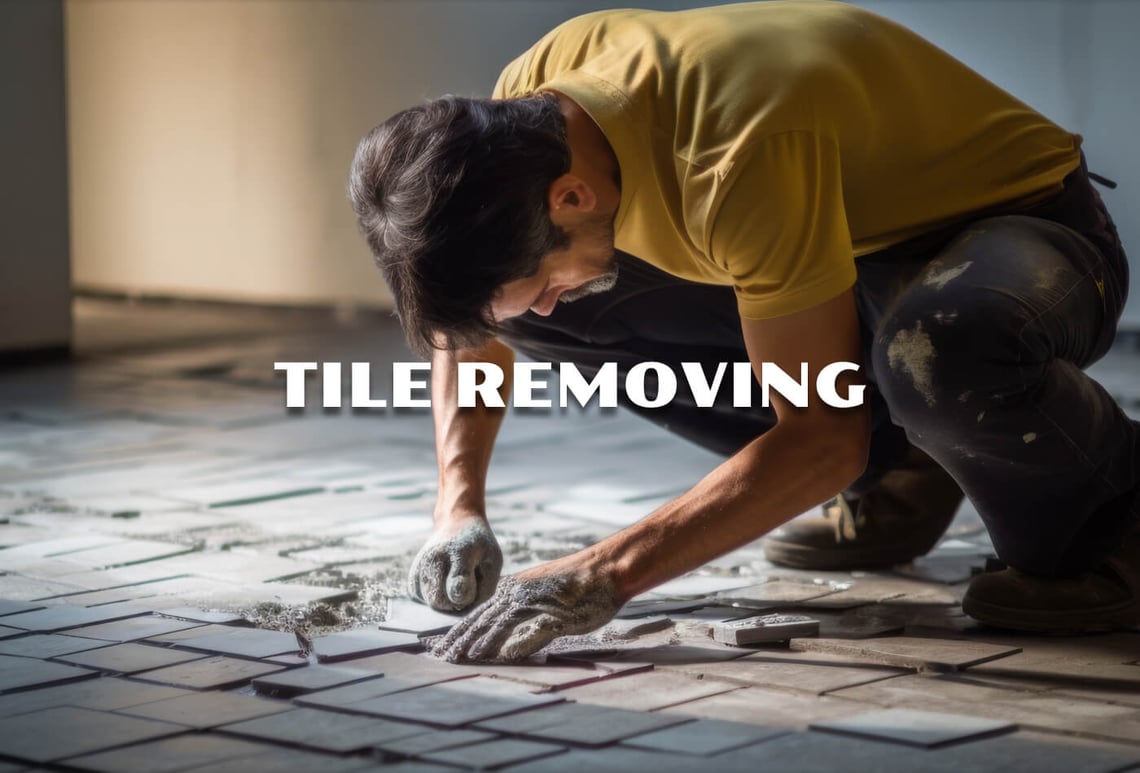
Start at a corner or edge and gently use your hammer and chisel to pry up the first tile. There's nothing quite like that satisfying moment when a tile pops off!
Step 4: Keep Going!
Continue working through the tiles, using your pry bar for the stubborn ones. Always remember that patience is an essential key; take your time!
Step 5: Clean Up Residual Adhesive
With the tiles gone, it's now time to tackle any sticky adhesive left behind. You must use your floor scraper and give your subfloor a clean slate for whatever comes next.
Step 6: Clean Up and Admire Your Work
Once everything is cleared out, just take a moment to vacuum up all that dust. Stand back, admire the hard work of your labour, and envision the beautiful new flooring to come!
Critical Safety Tips for Tile Removal Projects
It's essential to always prioritise safety during your DIY adventures! Here are some must-know tips to keep you very safe and sound.
Ventilation Matters: Open all your windows and doors to keep fresh air flowing. It helps disperse dust and makes the space feel very bright, so you enjoy the breeze!
Watch for Sharp Edges: Tiles can break, leaving behind sharp shards. Keep your gloves and shoes on until the end; don't take unnecessary risks!
Lift with Care: If you’re dealing with any heavy debris, you need to bend your knees and lift with your legs.
Conclusion
Now, you know how to tackle all your projects, including "tile removing"! You can tackle all the challenging projects and successfully handle "tile removing" as well. Whether you're getting ready to lay down something fabulous or just revelling in the satisfaction of your hard work, you've made a significant step towards transforming your home. So, dust off your hands, take pride in your successful "tile removing" process, and prepare for the next chapter!
Frequently Asked Questions:
What Tools Do I Need to Remove Tile Flooring?
You will typically need a tile chisel, hammer, pry bar, floor scraper, utility knife, and essential safety gear such as gloves, goggles, and a dust mask.
What’s the Best Method for Removing Grout Before Tile Removing Process?
A grout saw or oscillating multi-tool can be very effective for scoring grout lines. Ensure you thoroughly break the grout seal around each tile before attempting removal.
Is It Safe to Remove Tile Flooring as a DIY Project?
Yes, DIY projects will provide you with all the necessary safety precautions, which generally include protective gear wear and proper ventilation, especially when dealing with very old tiles that may contain harmful materials as well.
P.s. The readers are informed that none of the content available on any of the pages of Work-tops.com should be taken as legal advice and that Work-tops will not be held accountable for your use of the information contained in or linked from these web pages.


